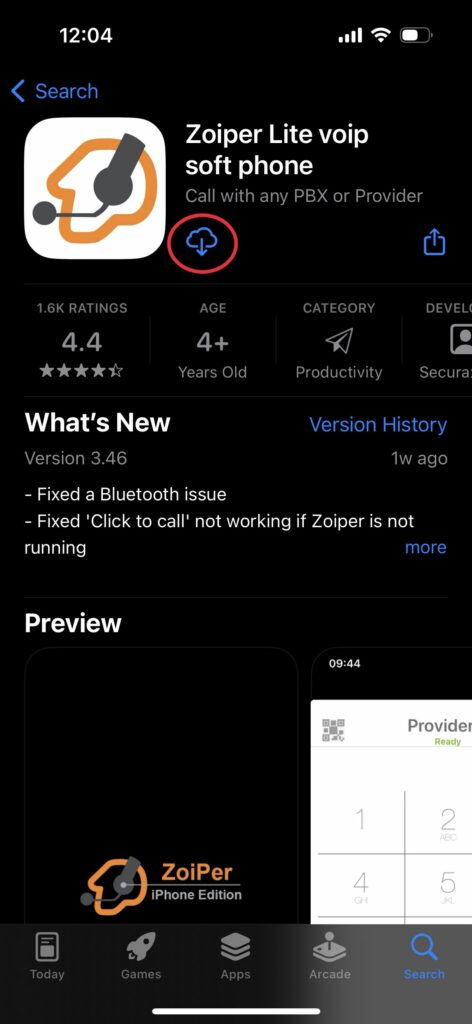
Download the Zoiper app on the app store and then open it.
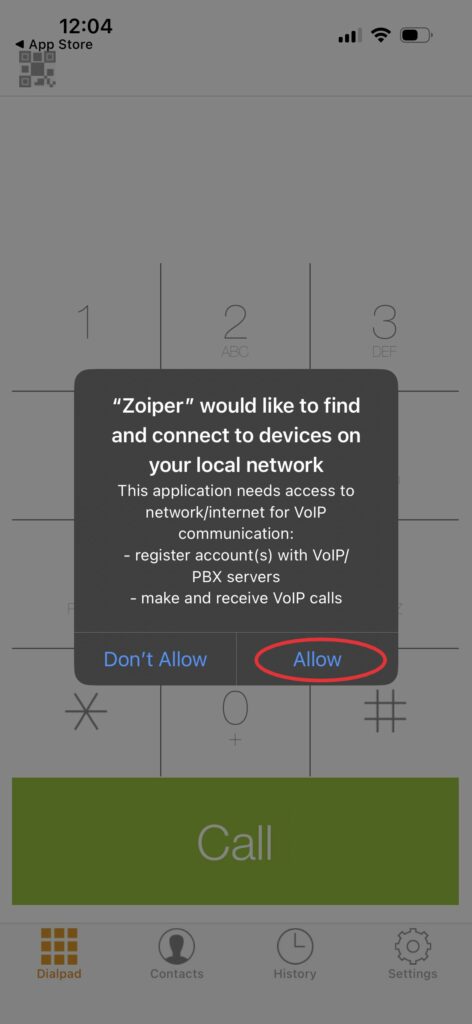
Choose the following for the pop-ups when the app first opens
ALLOW connection to devices on local network
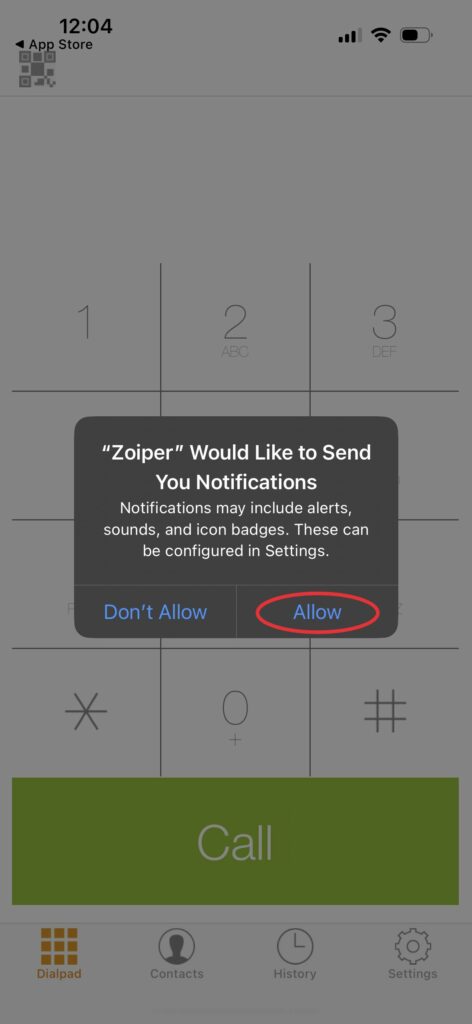
ALLOW notification
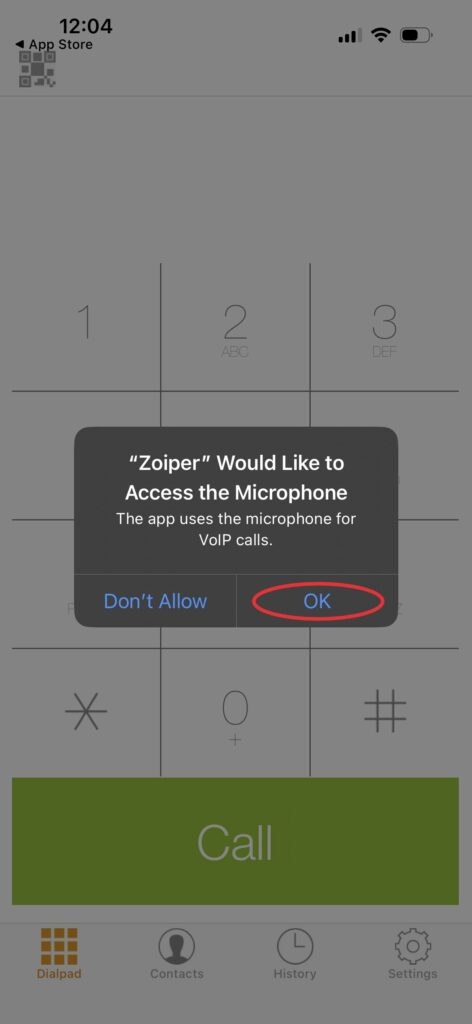
OK to allow access to microphone
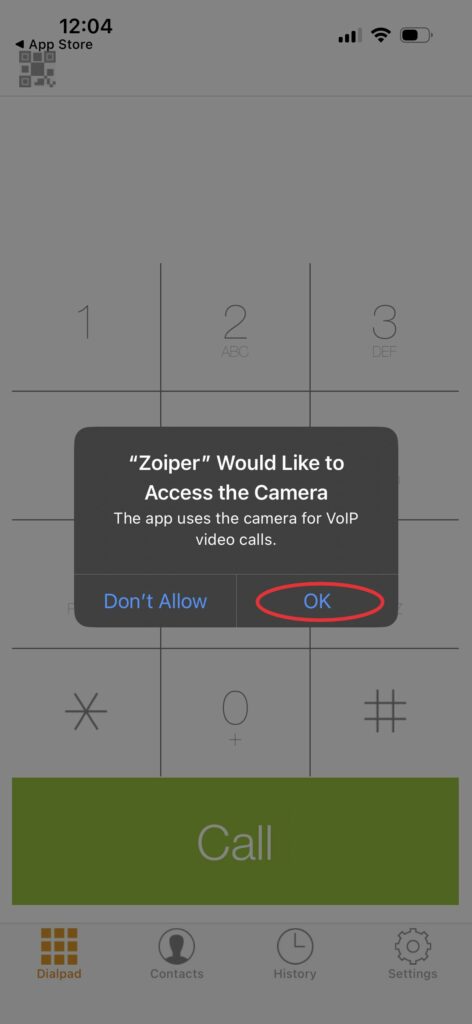
OK to allow access to camera
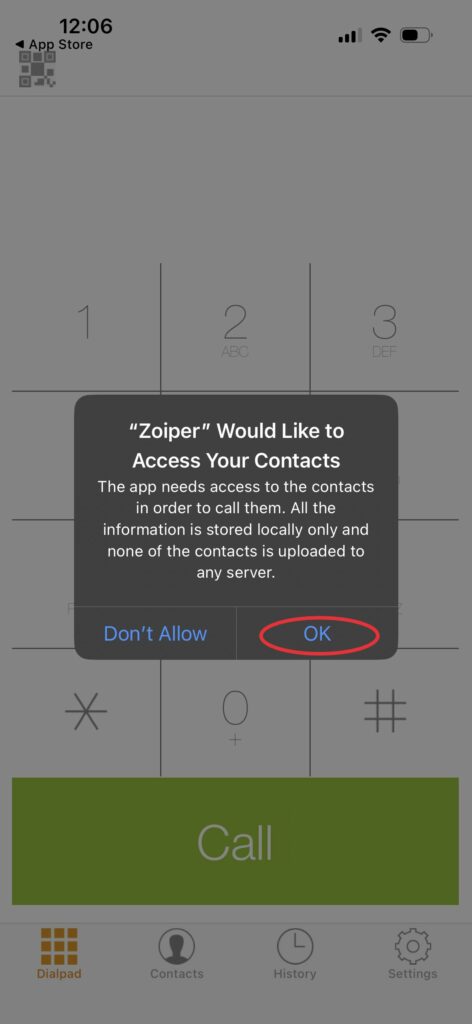
OK to allow access to contacts
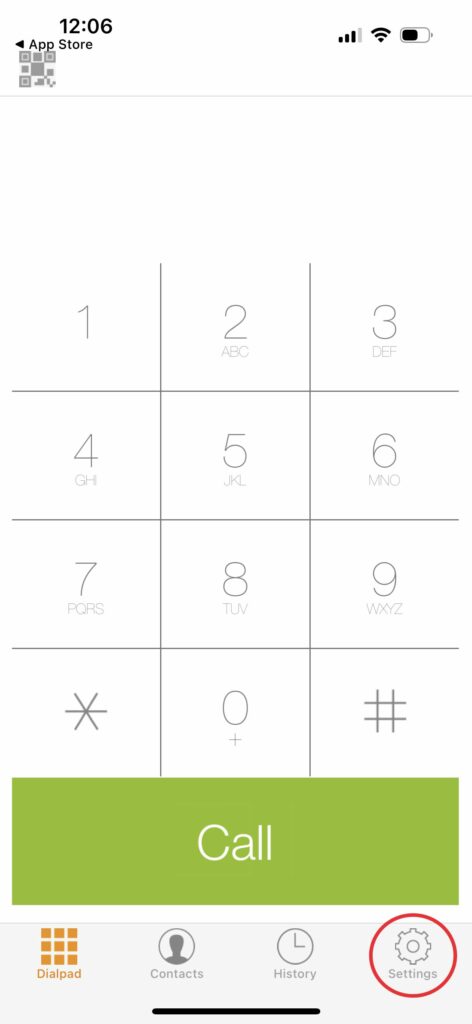
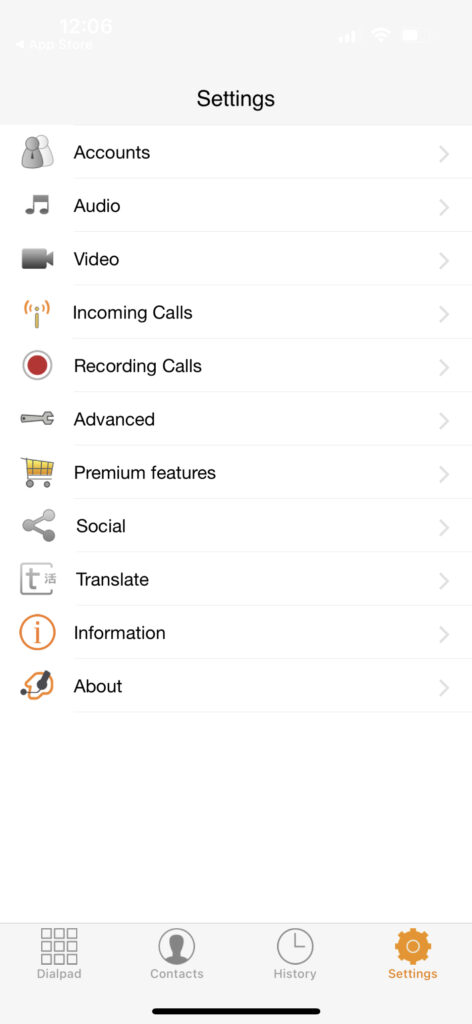
Next, go to the Settings tab in the bottom right of the screen.
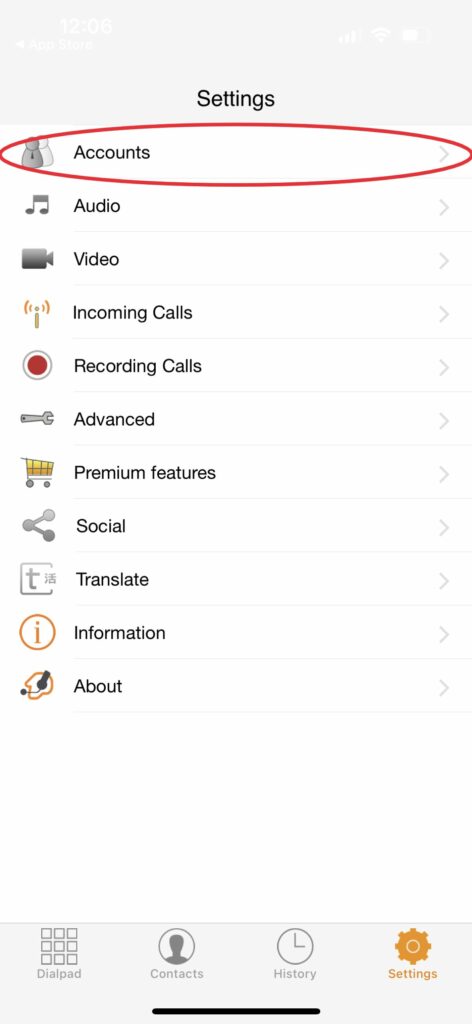
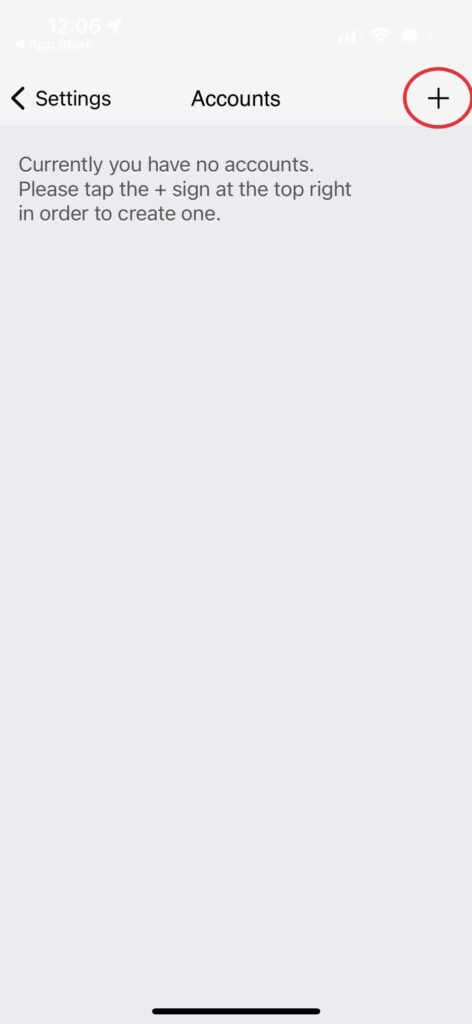
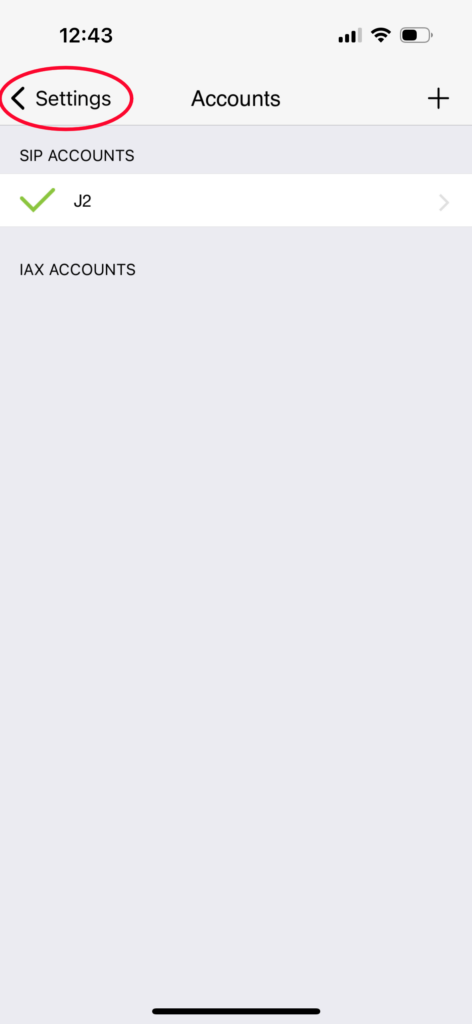
Choose Accounts.
Select the Plus (+) icon in the top right of the screen.
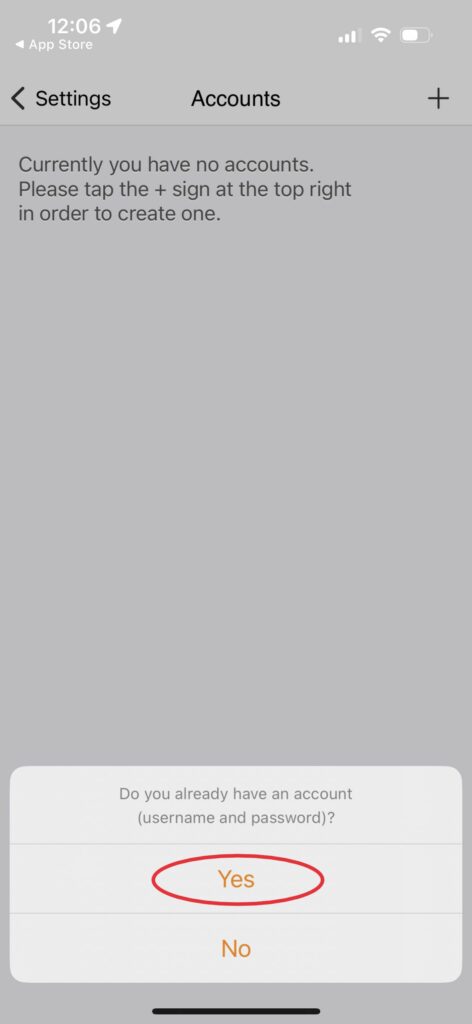
For the next two prompts choose the following
Do you already have an account? – YES
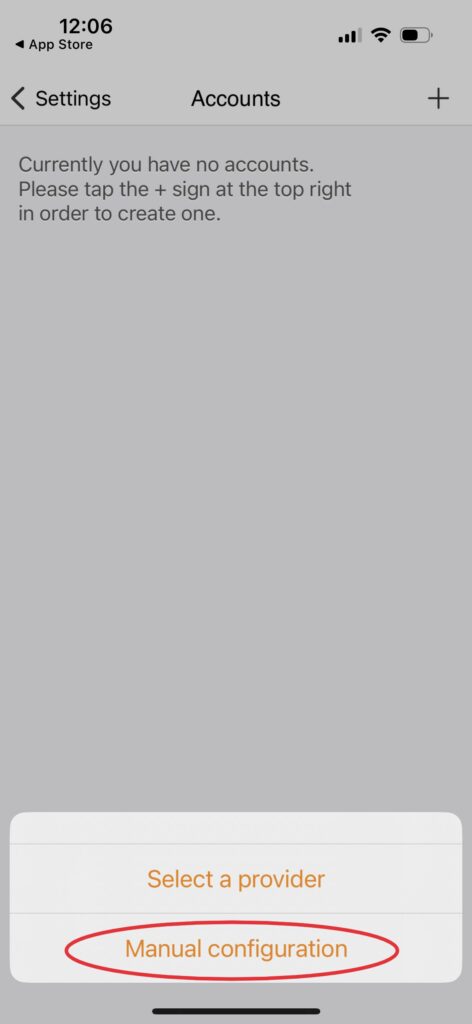
MANUAL CONFIGURATION
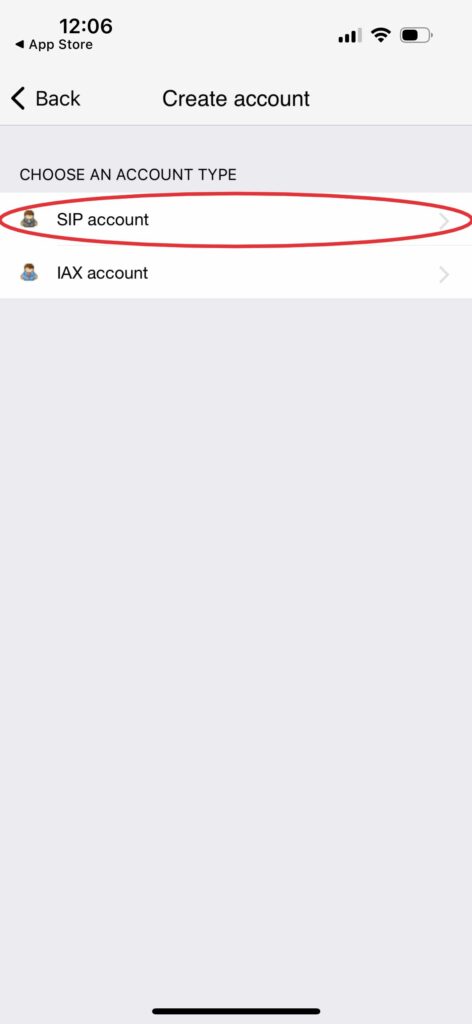
Choose SIP Account.
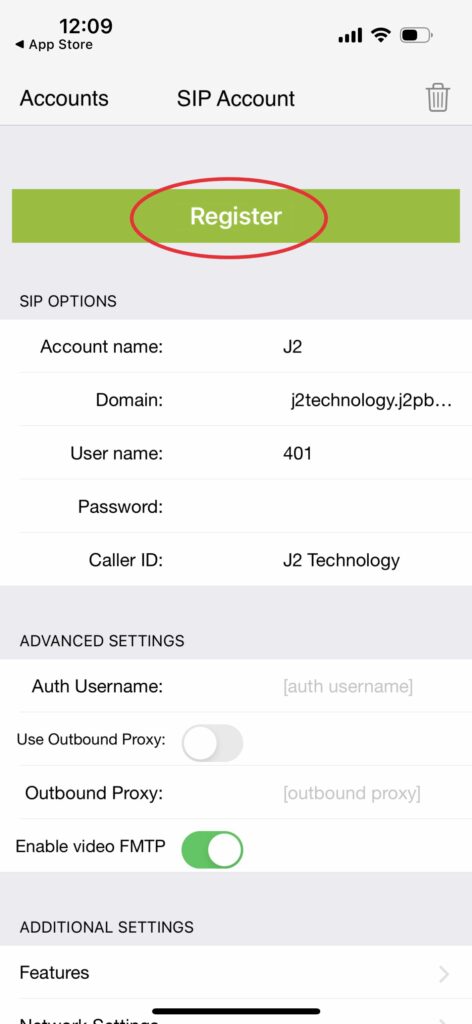
Enter in your Account details
Account Name: Enter an identifier you like to use (we suggest using your business name)
Domain: (provided to you via email)
Ensure that at the end of the domain you include :5070 (ex. yourdomain.j2pbx.com:5070)
Username: (provided to you via email)
Password: (provided to you via email)
Caller ID: Leave this blank
Once completed, select Register.
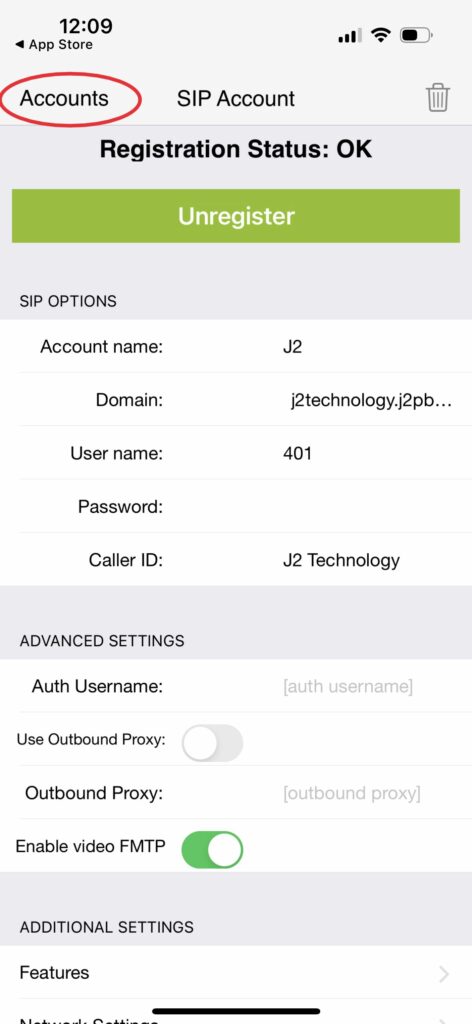
If successful, the registration status at the top of the screen will say OK. Once registered, click on Accounts at the top left of the screen and then Settings at the top left of the next screen to return to the settings page.
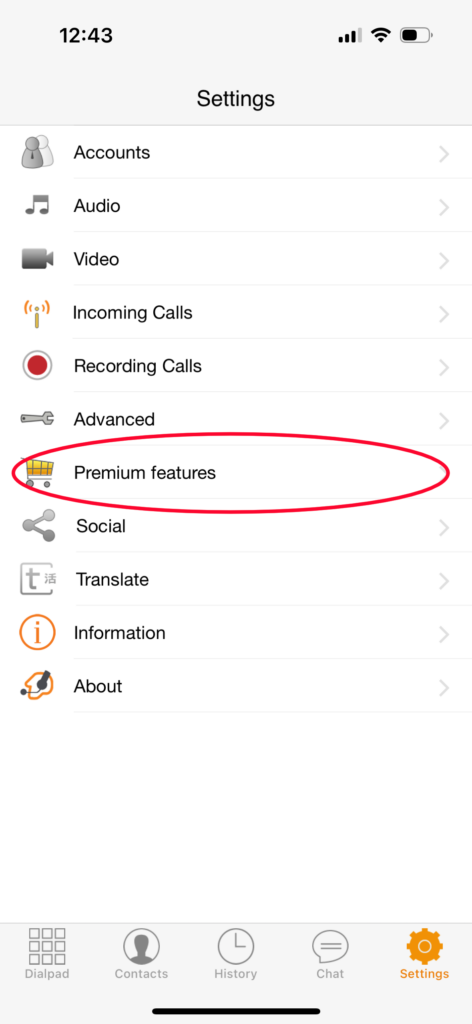
To purchase a subscription for push notifications, first choose Premium features in the settings tab. This is highly recommended in order to extend battery life.
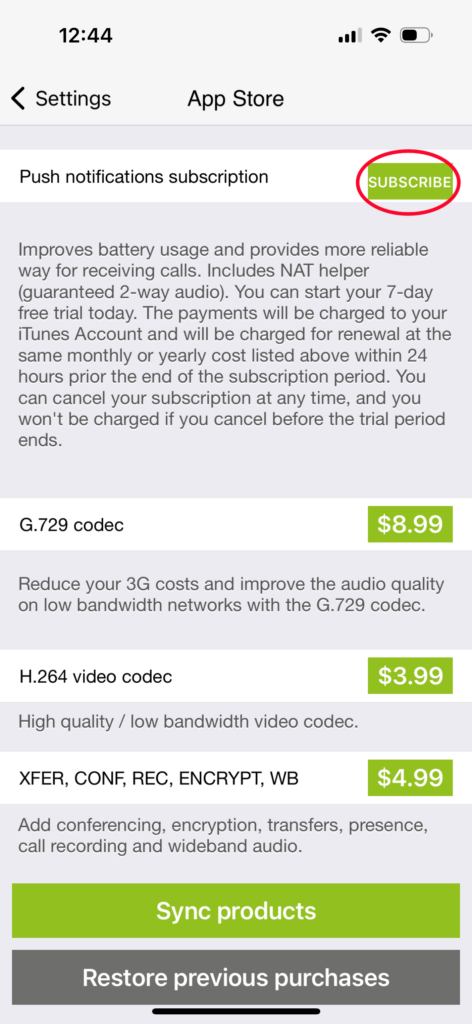
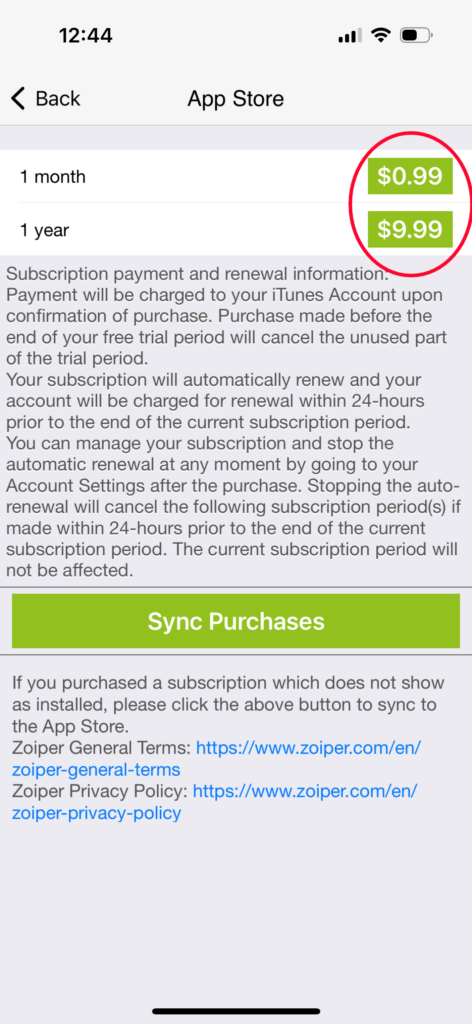
Click Subscribe, then choose which plan you would like to subscribe to. Once you choose the plan you would like, follow through with the purchase of the add on.
To return to the main page, select Dialpad in the bottom left of the screen. The setup is now complete!